Account Settings
Manage your user profile, passwords, 2FA, and preferences
You can access Account Settings by clicking your name in the top-right corner of the screen and selecting Account Settings.
My details
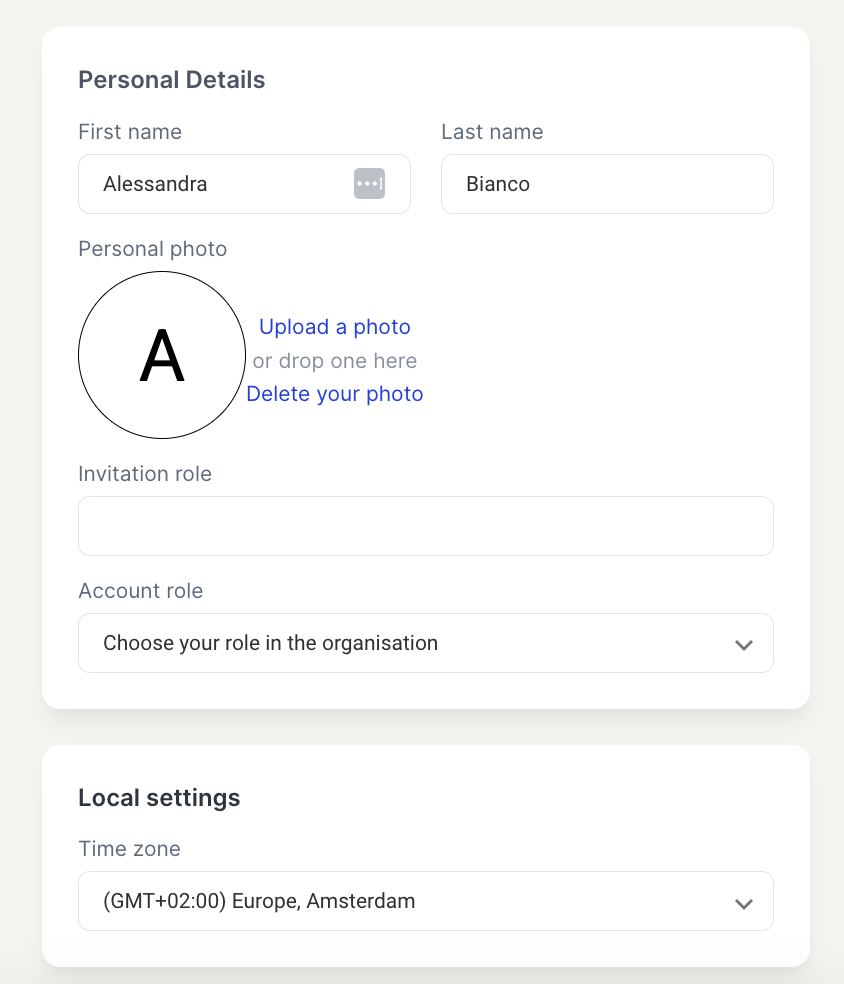
Personal details
Add or update your:
- First name & Last name
- Invitation / account role
- Profile photo (recommended: 150 × 150 px)
Tip: If you send surveys from your profile, adding a profile photo and correct invitation role ensures your invitations look professional. Otherwise, this is mostly for internal use.
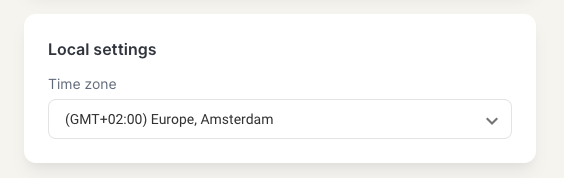
Local settings
Select your time zone so survey dates and responses appear correctly in your local time.
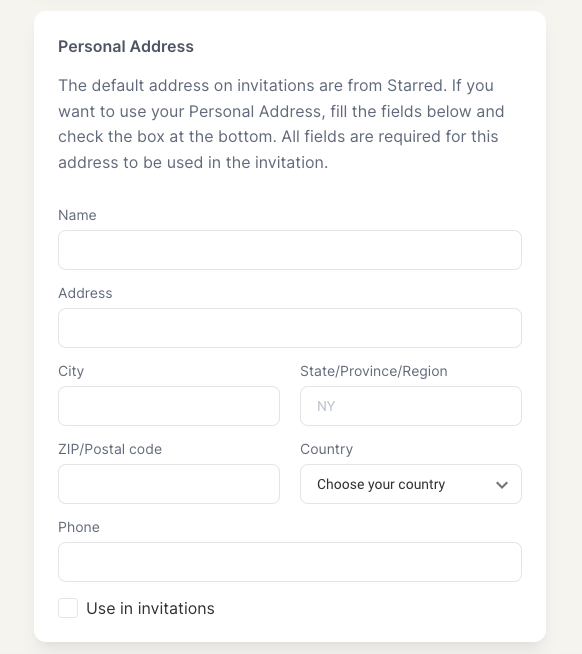
Personal address (optional)
If you want your own address to appear at the bottom of invitation emails (when you are the sender):
- Complete all address fields.
- Check Use in invitations.
❗Important: All fields must be filled for your address to appear in outgoing surveys.
Preferences
Here you can:
- Change your password
- Enable Two-Factor Authentication (2FA)
- Request account deletion

Password requirements
Passwords must include:
✅ A lowercase letter
✅ An uppercase letter
✅ A special character
✅ A number
✅ At least 8 characters
Two-Factor Authentication
- Enable 2FA → you see a QR code pop-up.
- Scan using an Authenticator app (e.g. Google Authenticator).
- Enter the generated code to activate.
From then on, you'll need a code from the authenticator app each time you log in.
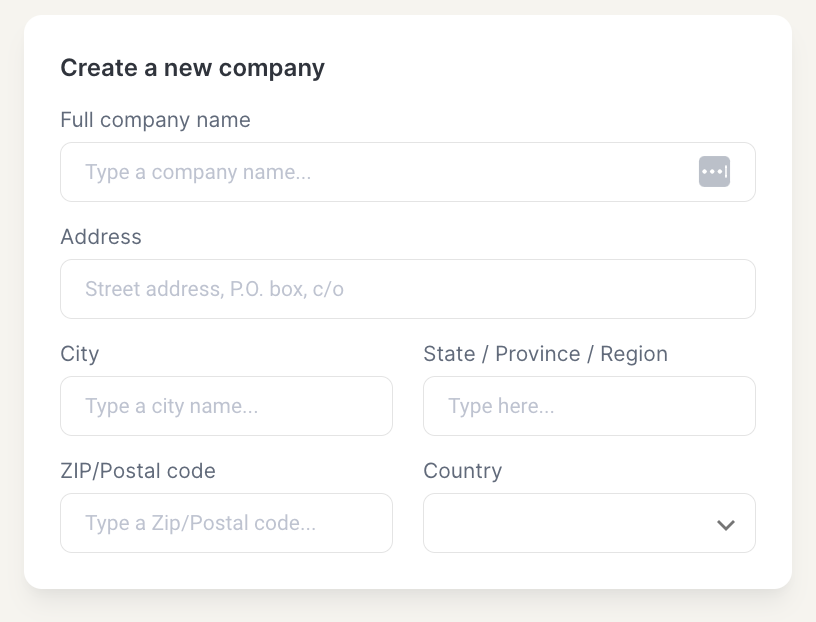
My companies
Manage your company or create new ones:
- Switch between companies: see a list of companies you're in and pick one.
- Leave a company: click on the ⋮ menu (three vertical dots) next to the company name and selectLeave this company.
- Create a new company: scroll down to Create new company, and enter the full company name and address.
✅ Summary
| Section | Purpose | Key Actions |
|---|---|---|
| Personal details | Profile & identity | Update name, role, photo |
| Local settings | Time & display | Set your correct time zone |
| Personal address | Invitation sender address | Enable "Use in invitations" and fill all fields |
| Preferences | Account security | Change password, enable 2FA, request deletion |
| My companies | Company association | Switch, leave, or create companies |
Updated 9 months ago