How to build a workflow (Workable)
Once you have connected your Workable environment to your Starred account, you can start to automate your feedback by setting up workflows in Starred.
Please noteYou can choose between creating your own workflow from scratch or using one of our pre-built workflow templates. We recommend starting with one of our templates and customizing it.
Creating a workflow from a template
If you want to use one of our templates, click on Create new workflow in the upper right corner.
- From here, you'll see a list of available templates: select one and click on Preview workflow template
- From the next page, select Create new workflow
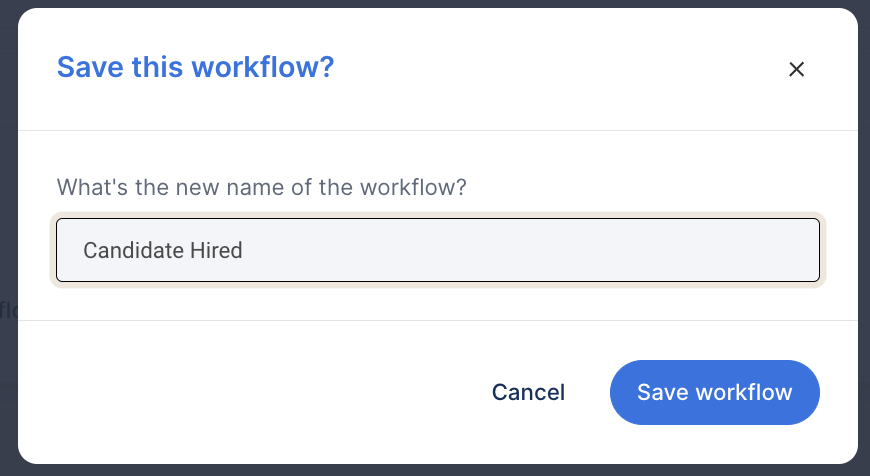
- Choose a name and save.
When you've added it, you can edit it to fit your own needs and preferences: to do so, click on Edit in the dropdown menu next to the workflow name
Please note:You can only edit disabled workflows. If you want to edit an active workflow, you first need to disable it. Once you're doing with editing, don't forget to enable the workflow again.
Creating a workflow from scratch
- Click on Create new workflow in the upper right corner
- From here, leave the selection at Build your own workflow
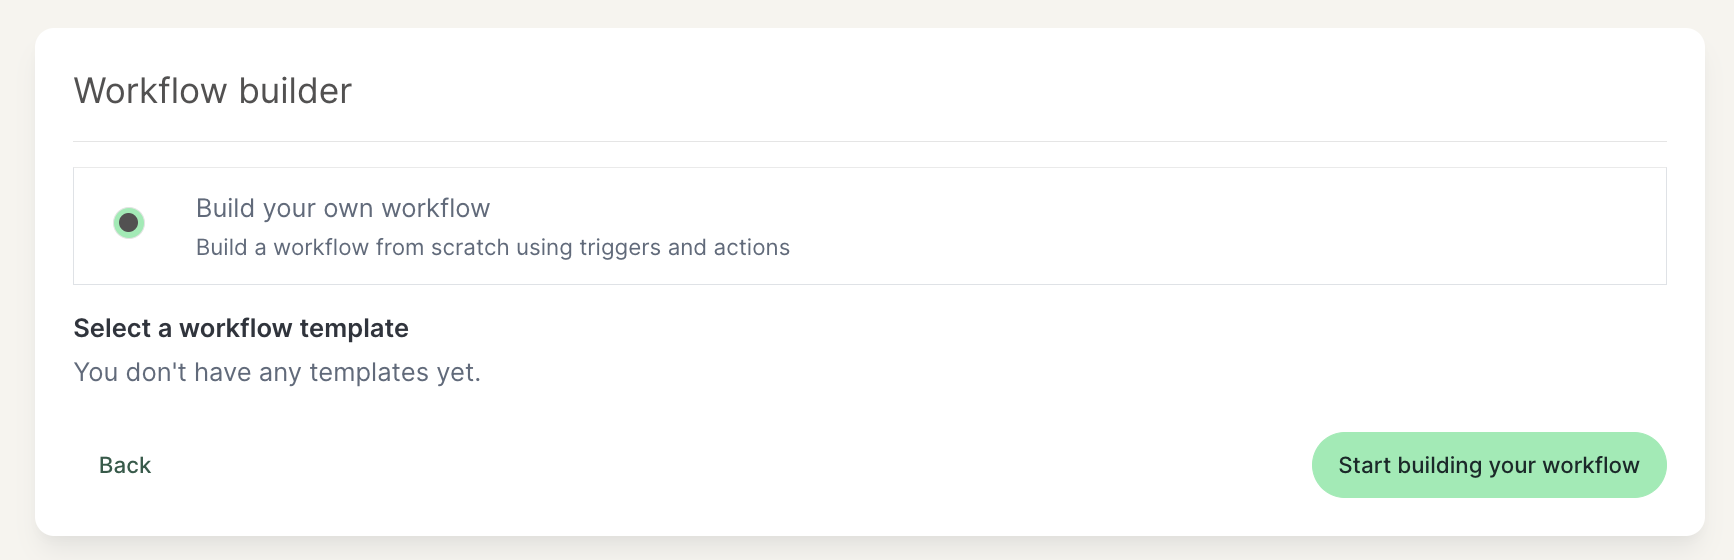
- Scroll down and click on Start building your workflow
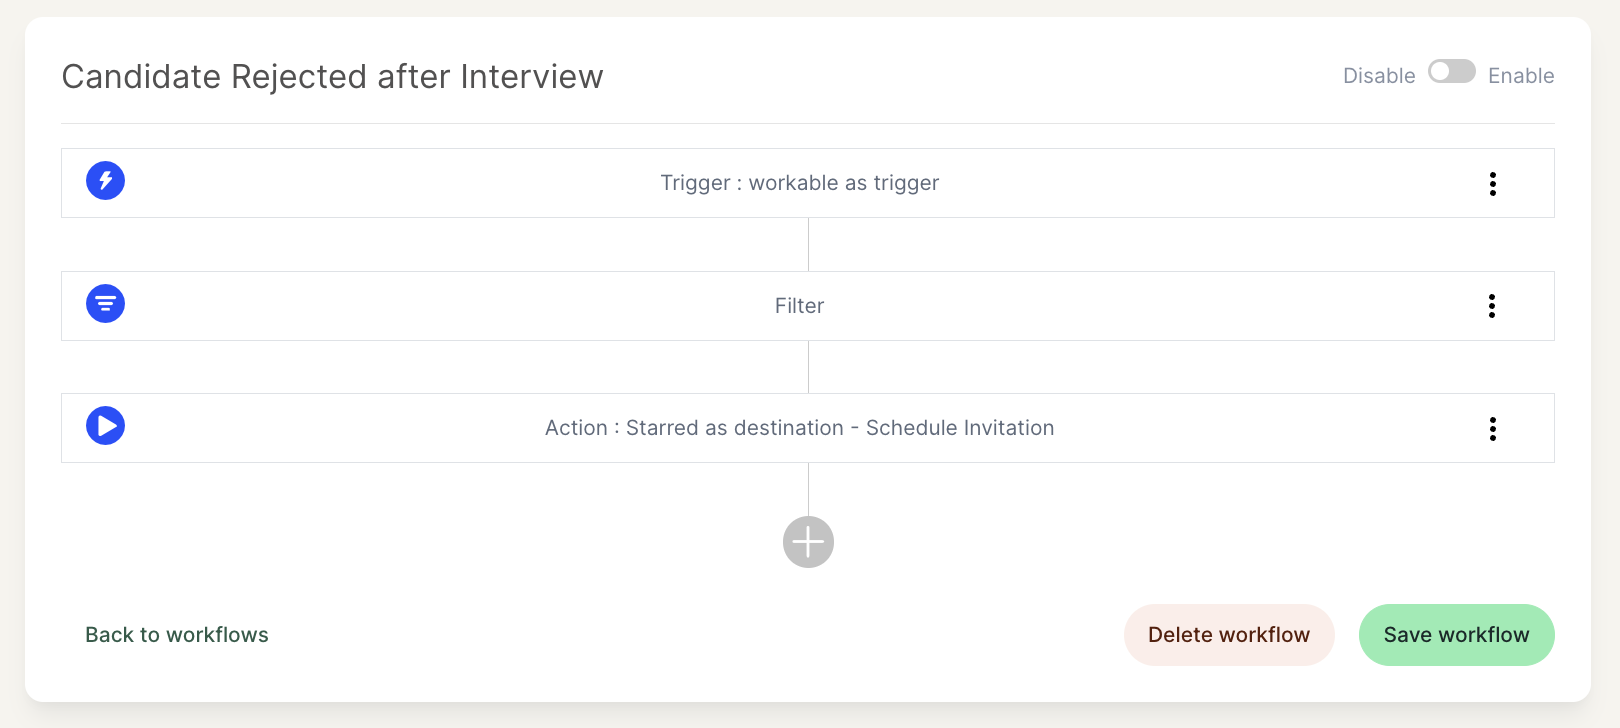
Your workflow will need the following steps:
- Trigger step (mandatory)
- A Filter step (not mandatory)
- a last Action step (mandatory)
Trigger
Every workflow starts with a trigger: This is an event that happens in the application. For example, rejecting a candidate in your ATS can be a trigger. Whenever the conditions chosen for the trigger step are met, the workflow execution will start.
Filter
Filters are a way to ensure actions get performed only on the records you want.
Let’s say you want to send out a survey when a candidate is rejected: this will be determined in the first step, the trigger. However, if you want to exclude candidates that are rejected for a specific reason or you want to exclude internal candidates, you can add a filter at this step. Even if the survey is triggered, the filter will block it and the workflow won’t continue.
Action
The last step of the workflow will perform the actions that you have defined. These actions include:
- Sending a survey invitation immediately or scheduling it for later
- Selecting the survey that should be sent and the invitation email template to go with it
- Selecting the sender of the survey
- Selecting the custom fields from your application that should be attached to the responses (like the application ID, the job name, the location)
- Choosing if you want a reminder to be sent to contacts that have not completed the survey
Now that you have a better idea of what a workflow looks like, it’s time to start building your own!
To help you create a workflow, we've broken down the process in a series of tutorials. Check the next Support pages to get started.
Tips & Tricks
- Filter and action steps can only be added by clicking on the ‘+’ symbol at the end of the current workflow. It is not possible to drag and drop (filter/action) steps in the middle of a workflow.
- You always need to update the trigger/filter/action and click on Save workflow for your adjustments to be properly saved.
Updated 11 months ago