Step 1. Choose a trigger
The start of the workflow
In this step you decide how your workflow will start. The trigger in your workflow is the event that initiates the workflow’s execution.
You can choose between 4 possible triggers:
- Candidate Applied: this trigger is used for your candidates that just applied to send out what we call the "confirmation email" survey (also known as "candidate applied" survey).
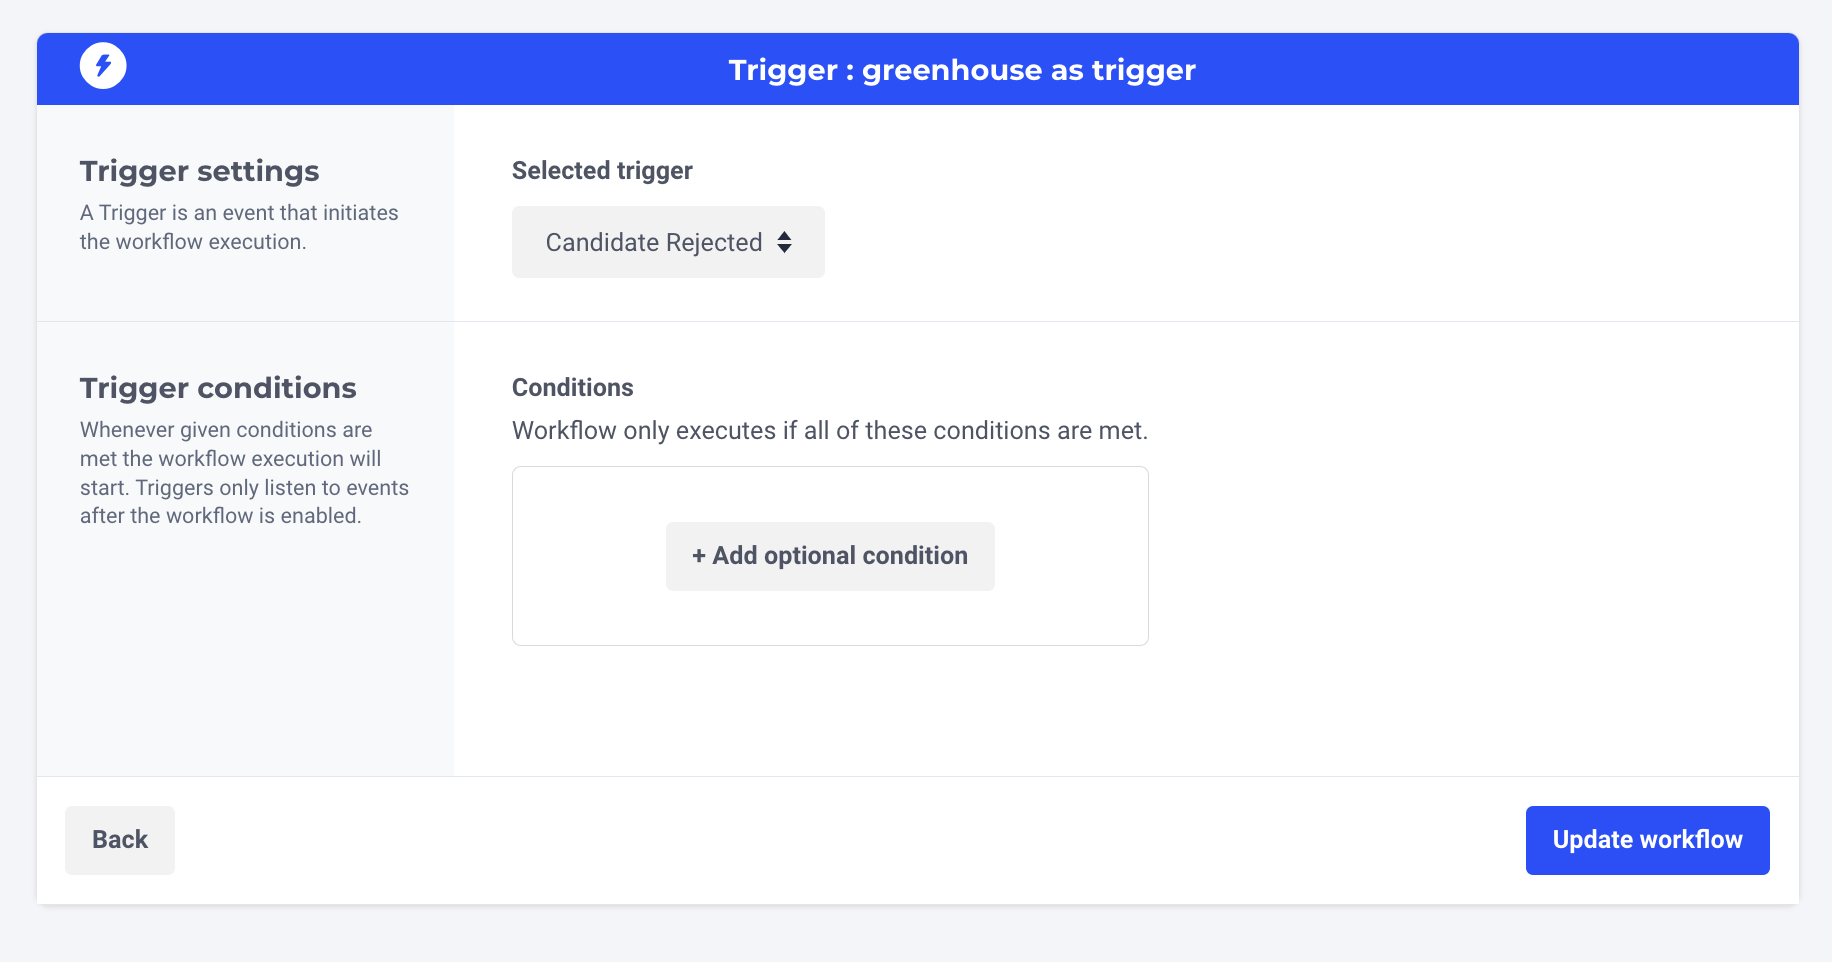
- Candidate Rejected: this trigger is used to send surveys to rejected and withdrawn candidates.
- Candidate Hired: this trigger is used to send surveys to hired candidates, to hiring managers that worked with a candidate for our Hiring Manager Feedback survey, for onboarding surveys or other internal surveys such as Internal Partnership and Quality of Hire surveys.
- Offer Created: this trigger can be used to send surveys to hiring managers for our Hiring Manager Feedback survey or other internal surveys. It's similar to "Candidate Hired", so if you're unsure please ask your Customer Success Manager for use case examples.

Please noteIt's not possible to trigger surveys for when a candidate moves from a stage to another in the recruitment process or when an interviewer submits an interview scorecard. Starred only surveys candidates when they enter the recruitment process ("Candidate Applied") or when they exit it.
Trigger conditions
In the trigger step you can also add extra conditions. Extra conditions are not mandatory but some are highly recommended. When you're using one of our templates, our recommended conditions are already added to it.
Rejection Type
If you're creating a rejected/withdrawn candidate workflow, since it's the same trigger ("Candidate Rejected") you need to add a condition based on the Rejection Type.
Use the following:
- Rejection Type is We rejected them
- Rejection Type is They rejected us
Can email candidate
You can add a condition as follows:
- Can email candidate is true
To make sure that you're only ever going to send out surveys to candidates that you're allowed to email. This condition refers to the button on the application in Greenhouse called "Do not email". When this button is flagged, the condition is not satisfied and the candidate won't receive a survey.
When you have finished setting up your trigger step, select Update Trigger and then Save Workflow .
Give your workflow a name and save it.
Please note:
- When you add conditions to the Trigger step and these conditions are not met, the workflow will not trigger, so you will not see an execution log.
It's not possible to trigger on Requisition closed- In the Trigger step you can only use 'and' conditions, meaning that all conditions you add need to be satisfied at the same time for the workflow to be triggered. At the Filter step, you can create condition "blocks" based on 'or' conditions.
Updated 10 months ago