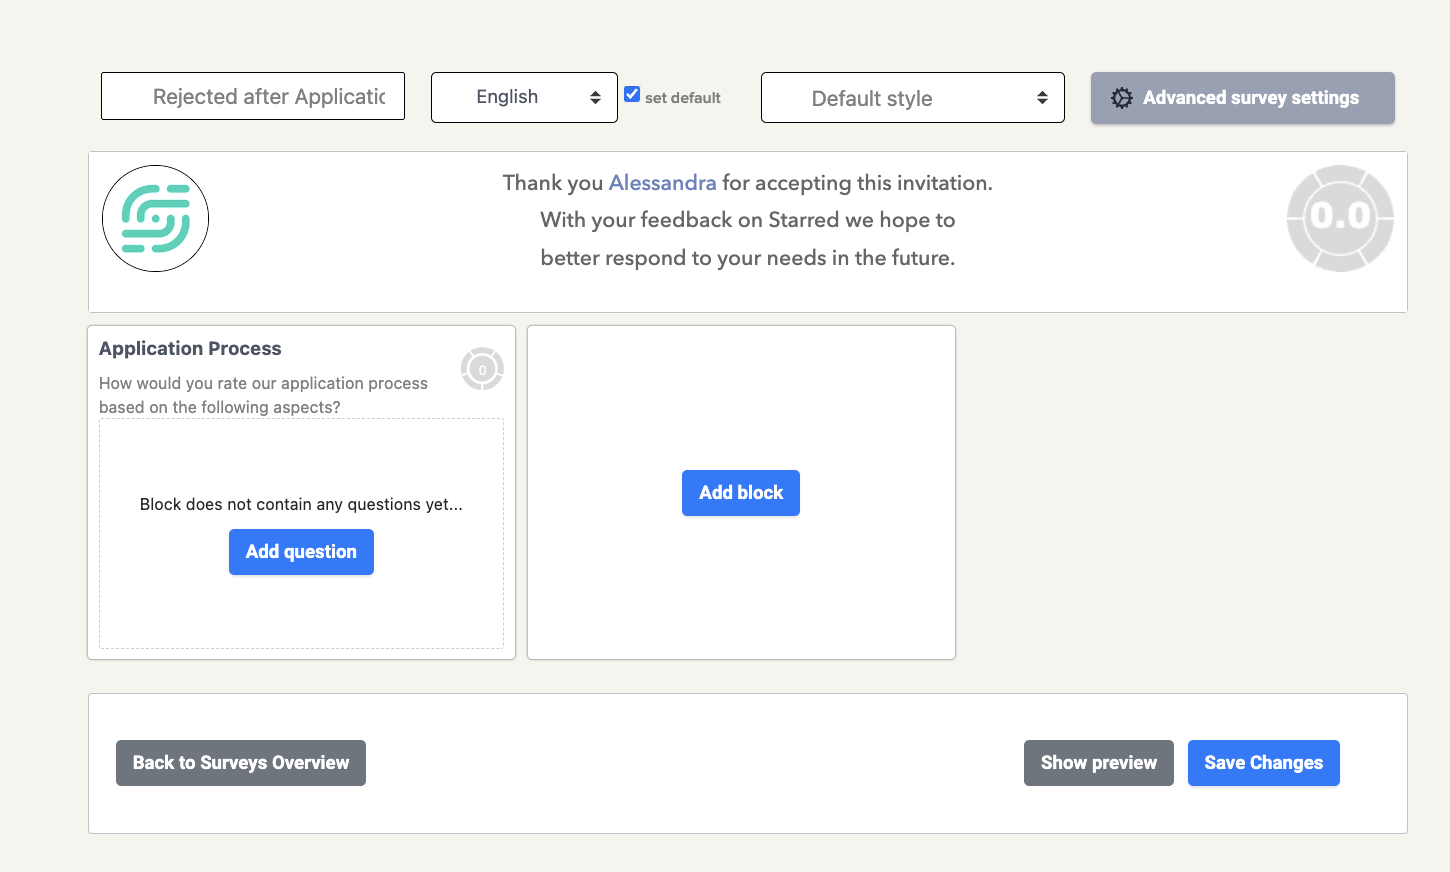
⚙️ Advanced Survey Settings
Fine-tune how your survey behaves — from anonymity and distribution to thank-you pages and cooling-down periods.
Access this section by clicking the ⚙️ icon (Advanced Survey Settings) in the top-right corner of the Survey Composer page.

From here, you can:
Adjust question distribution on the page
Select how you'd like to display the survey questions on desktop devices:
- All questions on one page: Best for longer surveys (4–6 question blocks). Optimizes completion speed and reduces navigation.
- One question per page: Ideal for shorter surveys (1–3 question blocks). Encourages focus and higher completion rates.
Set up thank-you behavior after submission
Define what happens when a respondent submits your survey.
- Use your default company “Thank You” page
- Create a unique one for this specific survey.
💡 When to use this: Custom thank-you pages are great for internal surveys (e.g. Hiring Manager surveys) or special research (e.g. Candidate Motivation surveys).
Define a cooling down period (survey-level override)
You can override your company-wide cooling down period and set one specifically for this survey.
Click Set cooling down period for this survey, then select a duration from the dropdown.
💡 When to use this: Set a shorter or longer cooling down period for internal surveys (like Hiring Manager surveys) that differ from your default timing.
Manage response visibility
Decide whether respondents can see their previous responses if they open the survey again.
- Show last responses: Loads the respondent’s previous answers.
- Hide last responses: Displays a blank survey each time.
This setting helps manage respondent experience, especially in recurring surveys.
Customize survey anonymity
Choose how respondent identities are handled in your survey. You have four options:
Not anonymous: Respondent identity is always visible.
Anonymous: Respondent identity is always hidden.
Opt-in: Survey is non-anonymous by default; respondent can choose to stay anonymous.
Opt-out: Survey is anonymous by default; respondent can choose to identify themselves.
Assign a journey type to your survey
Assign the journey type your survey is linked to. This setting is typically chosen when you create your survey but can be changed here later.
Updated 4 months ago
