How to connect Zapier with Starred
Connect your ATS or CRM to Starred via Zapier to automatically trigger feedback surveys
Starred feedback software empowers Talent Acquisition and HR teams to improve People Experience from hire to retire. With Zapier it’s easier than ever to automate your feedback process.
Connect your Starred account with Zapier
In order to connect your Starred account with Zapier, you will require an API key.
Generate an API token in Starred
Follow the steps below to get your API key:
- Login to your Starred account.
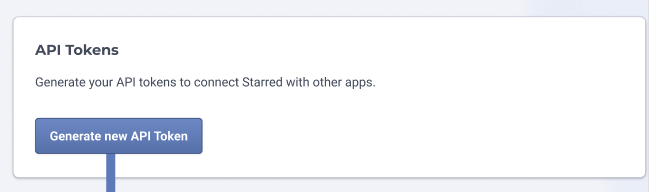
- Go to the API Tokens section of your settings
- Click on Generate New API Token.
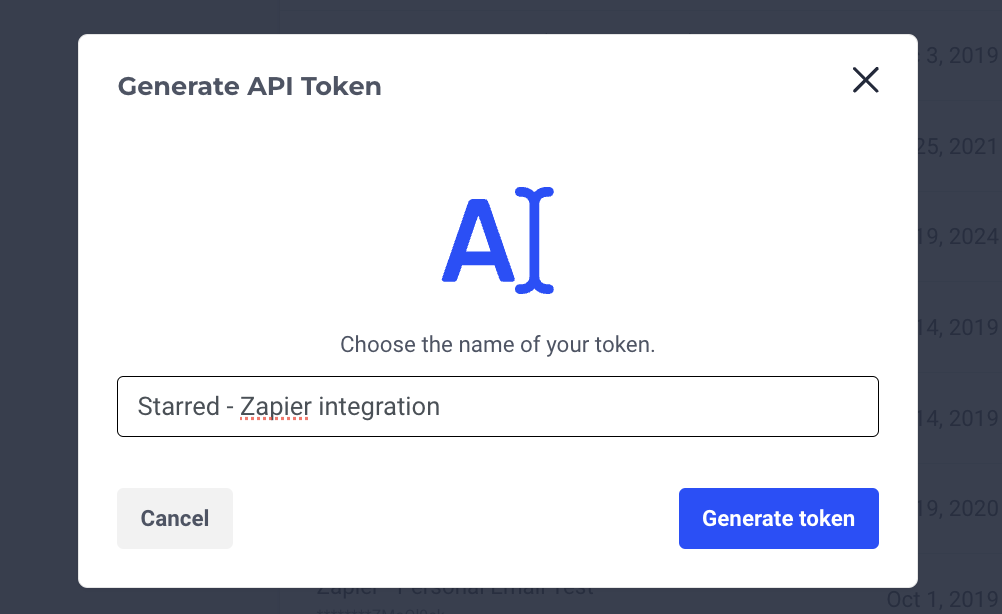
- Give your API Token a name. Make sure you can remember what you are using this API Token for.
- After the API Token is generated you must copy it and store it securely. Once you close the window it cannot be generated a second time.
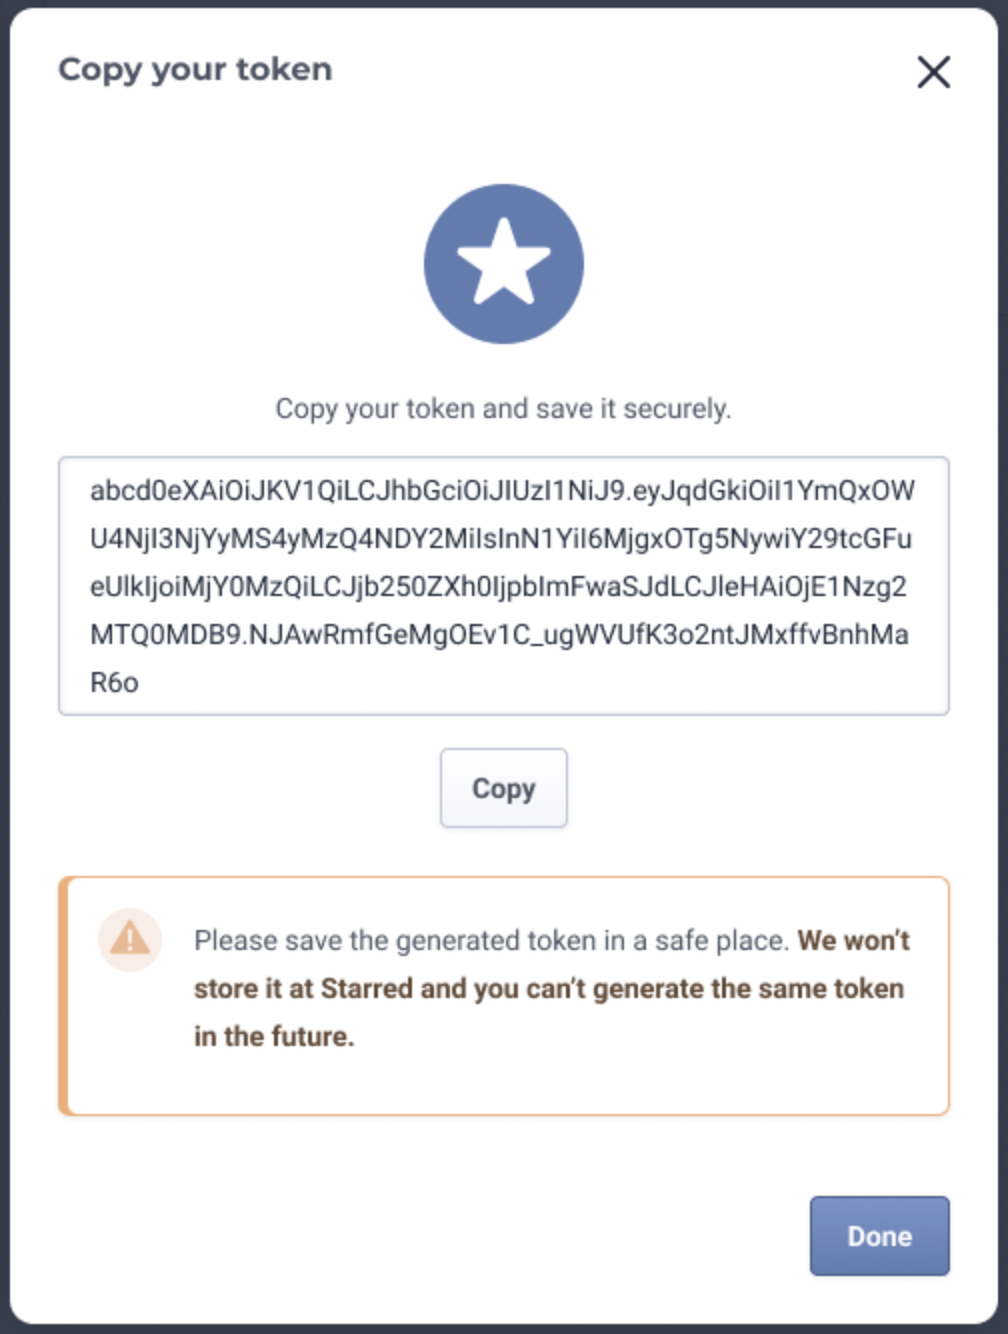
Copy & Save your API tokenIt is not stored at Starred and you cannot generate the same token in the future
- With the API token you can connect Zapier to Starred.
Integrate Starred to Zapier
Follow the steps below to get access to Starred app in Zapier and connect it.
- In your Starred account, navigate to the Integrations page.
- Click on Connect button under the Zapier card. You will be redirected to Zapier.

- In Zapier, search for the Starred application:

- And then click on 'Connect'

- A new window will pop up.
Fill in the API token and name the connection.
Click Yes, Continue
Congratulations. You've now connected Zapier to your Starred Account.
Working with Zaps
In this section we'll give you some information on what you can do with your Zaps to trigger Starred surveys.
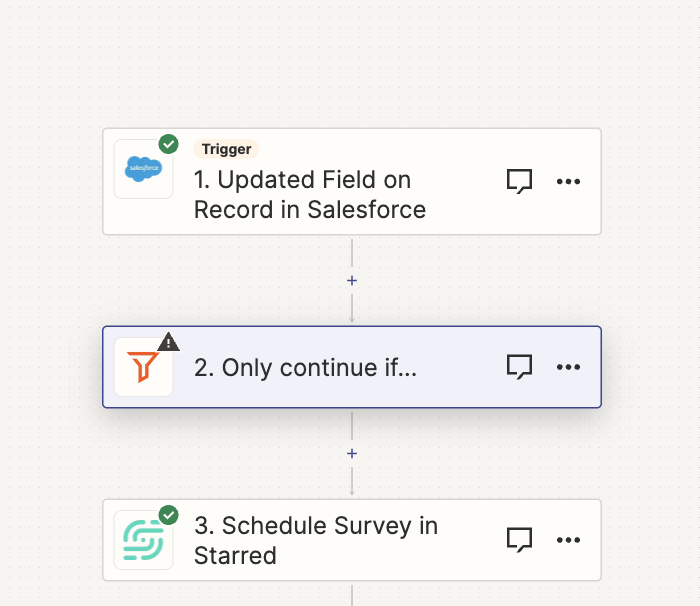
Zaps work similarly to Starred workflows. You’ll have a Trigger and an Action.
- Trigger: select your Trigger app here. Please note that some of the apps require a premium license to be used.
Once you’ve chosen the Trigger app, you can select the Event that should happen in the app. In Starred, this is equivalent of hiring or rejecting a candidate, for instance. - Action: possible actions you can have your zap perform in Starred include Send Survey and Schedule Survey. The latter can be used in zaps to schedule a survey to respondents when a zap is triggered.
Schedule Survey
You can choose to add a delay to the date. For example, your trigger service gives you an "Event Start Date", but you want to be able to send the survey 3 days after the "Event Start Date". To do this, you'll use the following syntax right after the date/time field you want to adjust.

IMPORTANT: You need a space between the placeholder and the adjustment, or it will not work.
+12h - 12 hours after the date/time in the field.
+10d - 10 days after the date/time in the field.
You can mix and match those as well. Remember you need to put a space between these!
See cumentation](For exam(For example, your trigger service gives you an "Event Start Date", but you want to be able to send the survey 3 days after the "Event Start Date". To do this, you'll use the following syntax right after the date/time field you want to adjust.) for more information on DateTime fields.
Adding custom fields
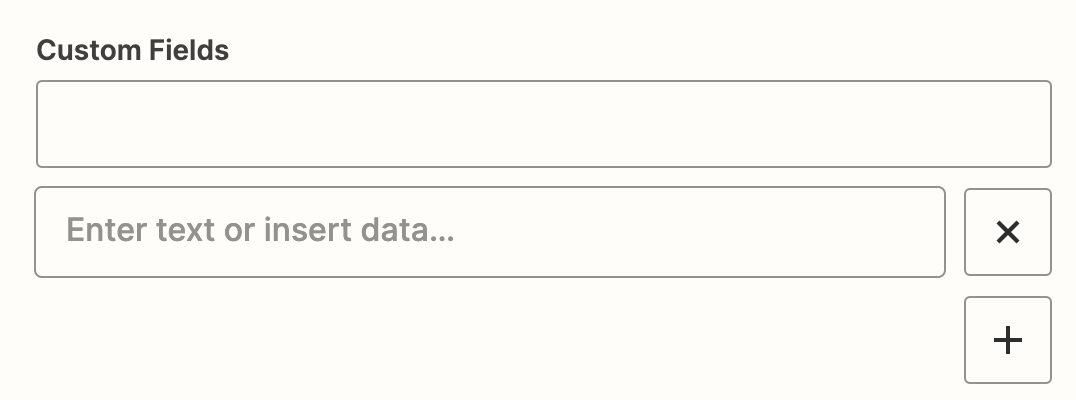
To be able to use those properties as filters to segment your data, you will first need to add them to the last part of the configuration, where you can see “Custom Fields”.
Use the first row to add the name that the field should have in Starred and use the second row to look up the actual field in your application.
Differentiate surveys between stages
If you'd like to send candidates at different stages different surveys, you can either:
-
create multiple Zaps, one for each stage that should trigger a survey and add a Filter based on the stage.
-
or you can use Zapier Paths (paid feature from Zapier). Paths will allow you to build workflows based on different conditions. You can use the "if/then" logic of Zapier Paths to send different surveys to candidates at different stages of your recruitment process.
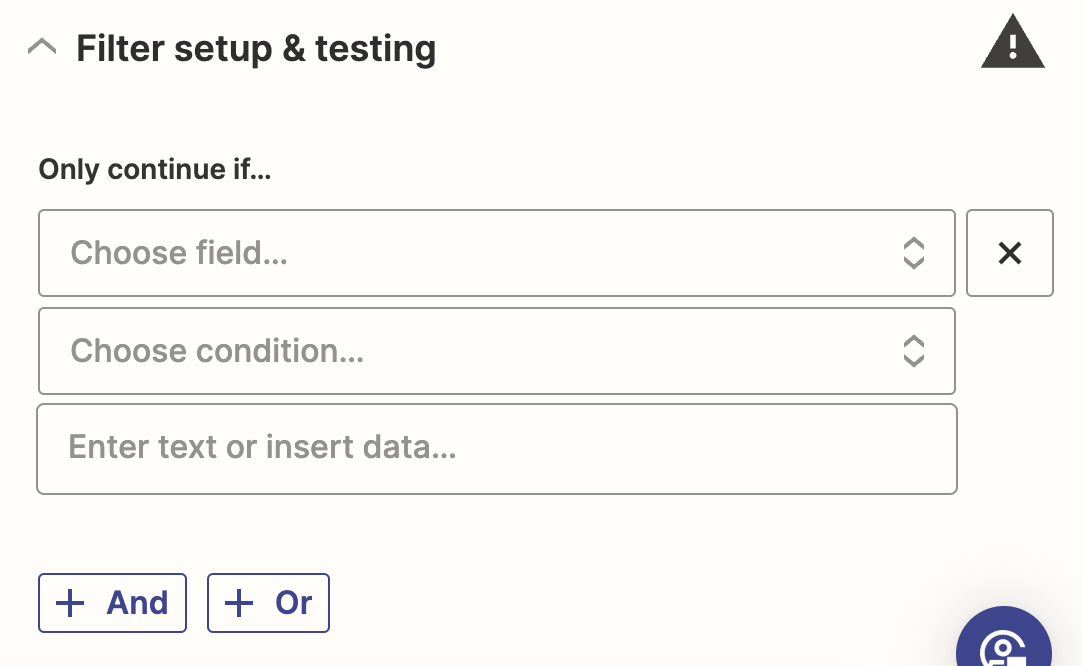
Adding a Filter step
To add a Filter, click on the + between your Trigger and Action and look up "Filter by Zapier", then select it.
You can now choose the fields for filtering in the right-hand panel.
Zapier Paths
If you'd like to build workflows using Paths, head over to Zapier's Support page to learn how to do it.
Updated 10 months ago