Customizing Your Invitation Email
Crafting a strong invitation message is key to encouraging your contacts to open your email and complete your survey.
Please note:
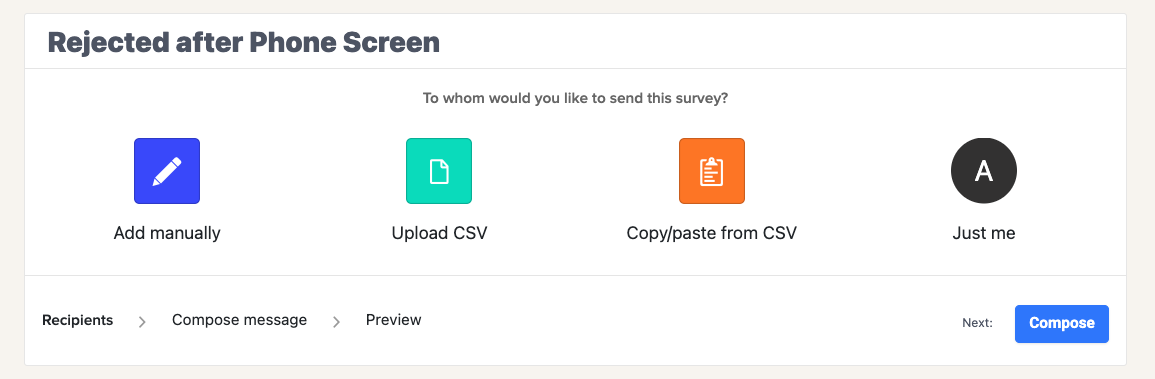
You can follow this guide to customize your invitation emails, whether you:
- Upload contacts manually
- Import them via a .csv file
- Or automate your surveys through an integration
Accessing the Invitation Email Composer
To open the invitation email composer:
- Go to your Survey Overview →.
- Click the ⋯ (three dots) next to the survey you want to send and select Invite new respondents.
- Click Compose message.
Editing or Creating a Template
When you open the composer, a default example template is displayed. You can use it as is or edit it to your preference.
- To save your changes, click the floppy disk icon 💾 at the top of the page.
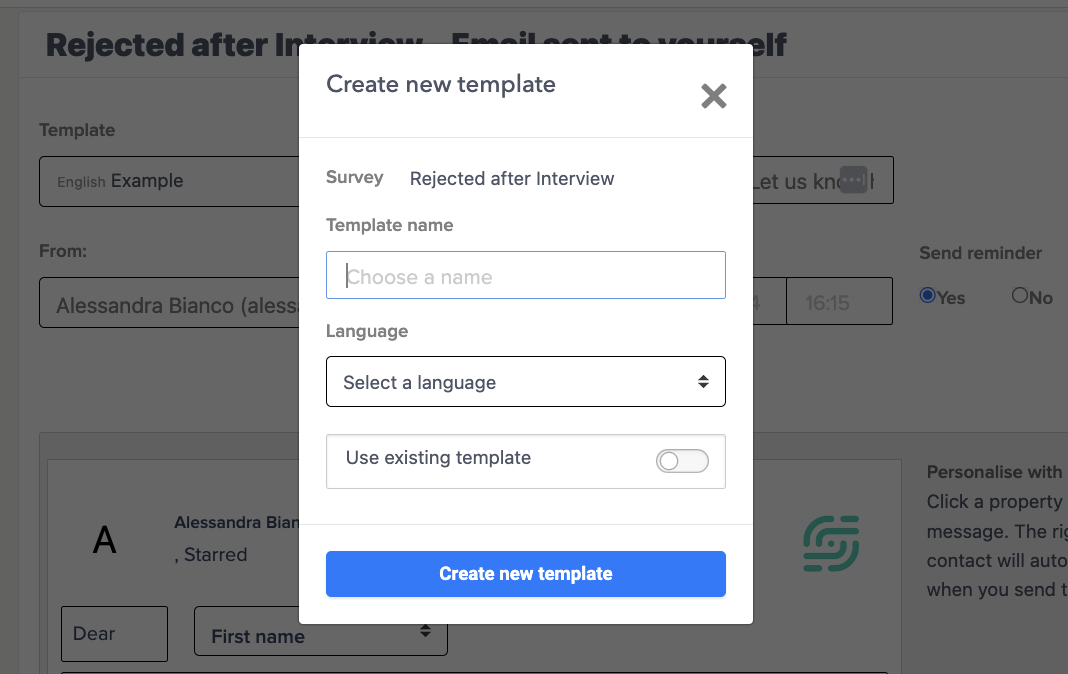
- To create a new template, open the dropdown menu and select Create new template.
- A window will appear where you can give your template a name and select the language.
📚 Read our guide with best practices for writing effective invitation texts (→)
In this article, we focus on the practical aspects of customizing your invitation emails.
Embedding a Survey Question in Your Invitation Email
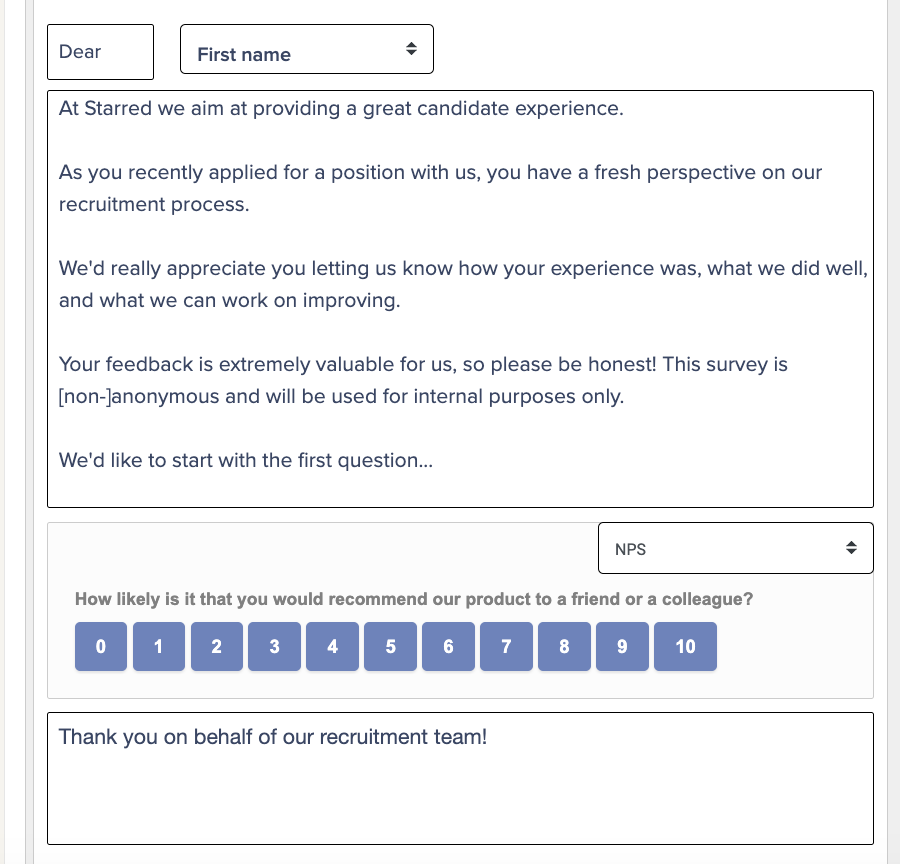
We recommend embedding one of your survey questions directly into the invitation. This gives respondents a quick preview of the survey and increases engagement.
To embed a question:
- Scroll to the dropdown menu located below your invitation text.
- Select the question you want to include.
Tips and Notes:
When a respondent clicks a rating in the embedded question, they will be redirected to the rest of the survey.
We recommend choosing an NPS question. Starred includes a feature called NPS auto-capture, which records the score even if the respondent leaves after clicking a rating.
📚 Learn more about NPS auto-capture (→)
You can add translated versions of your invitation emails so respondents receive the email and survey in their preferred language, improving response rates.
Personalizing the invitation email
You can make your invitation feel more personal by using custom fields, similar to how you use them in surveys.
To insert a custom field:
- Type @ followed by the name of the custom field.
💡 Recommended fields to personalize:
- Job title or position
- Office or city
- Recruiter or hiring manager name
Important:
- The spelling of your field must match the custom field name exactly.
- You can check your field names in Custom Field Settings
- You can also use these tags in the email subject.
Adding a Candidate’s First Name to the Subject Line
If you want to include a candidate’s first name in the email subject line, use this format:
%firstName
This format only works for the email subject. If you want to include the candidate’s name in the email body, use the @tag format instead.

Updated 4 months ago