Tips & Tricks for your workflows (SAP SuccessFactors)
Best practices for your SAP workflows
⭐ Workflow builder
- Filter and Action steps can only be added by clicking on the ‘+’ symbol at the end of the current workflow. It is not possible to drag and drop steps in the middle of a workflow.
- You always need to update the trigger/filter/action and save the workflow for the adjustments to be properly saved.
⭐ Trigger
- For rejected candidates, the trigger in Starred is based on the action of the rejecting the candidate, not on the (scheduled) rejection email.
- It's not possible to trigger surveys on status change (e.g. candidate moves from phone interview to onsite interview). Read more about it here.
- At the Trigger step, you can only use a ‘is’ filter, in the Filter step you can also set up ‘is not’, 'contains' and 'Does not contain' filters.
⭐ Filter
- The filter conditions in Starred can either work as 'and' or 'or' conditions. If you use 'and', this means that all conditions need to be satisfied at the same time for the workflow to continue. If you use 'or', you can create different blocks. This is very useful when you want to trigger the same survey to candidates at different stages of the pipeline.
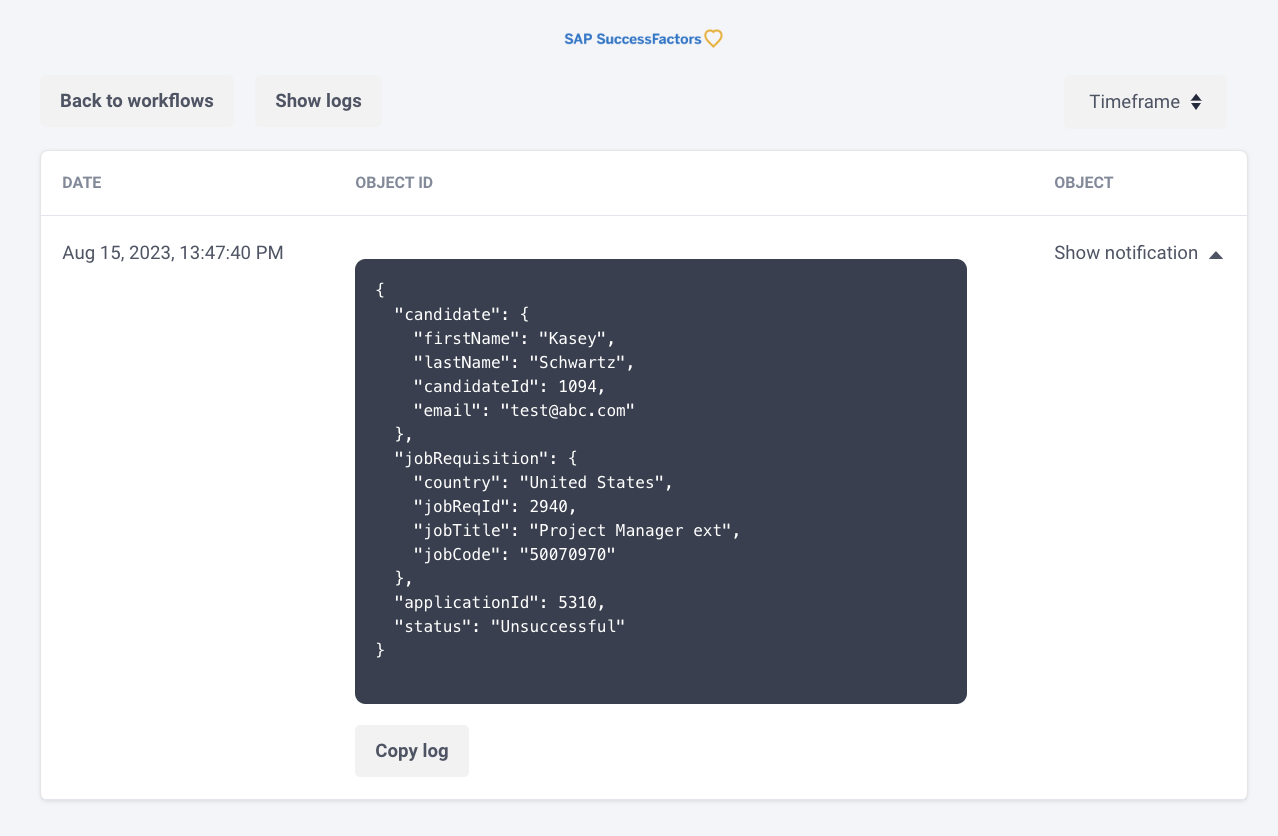
- To use filters in the correct way it is really important to know all existing conditions for every field in your SAP SuccessFactors environment. Please look at the Notifications in Starred for the exact spelling or in your SAP SuccessFactors environment

⭐ Send or Schedule invitations
- If you're scheduling a rejection email to inform your candidate that they were not chosen, keep this delay in mind when choosing the survey delay in Starred, to make sure the candidate does not get a survey before being informed of the rejection.
- Sender: you have options here. You can use a user email address or create an "alias sender address". We recommend opting for the "alias sender address" option, which you can find explained at this page.
- Custom fields:
- You can add custom fields to received responses but it's a very time consuming task and not something you want to do for more than a few responses. For this reason, we recommend adding all custom fields before you enable your workflow. Removing custom fields from the workflow is possible at any time.
- Fields are case sensitive.
- Type custom field names without spaces (e.g JobName)
- When using the same Custom fields in multiple workflows, the notations (capital sensitive!) need to be the exact same.
Workflow A: JobName
Workflow B: Jobname = this is wrong! Use: JobName - By default, Starred already adds custom fields to your responses. Please see here to learn which ones.
Updated 5 months ago
