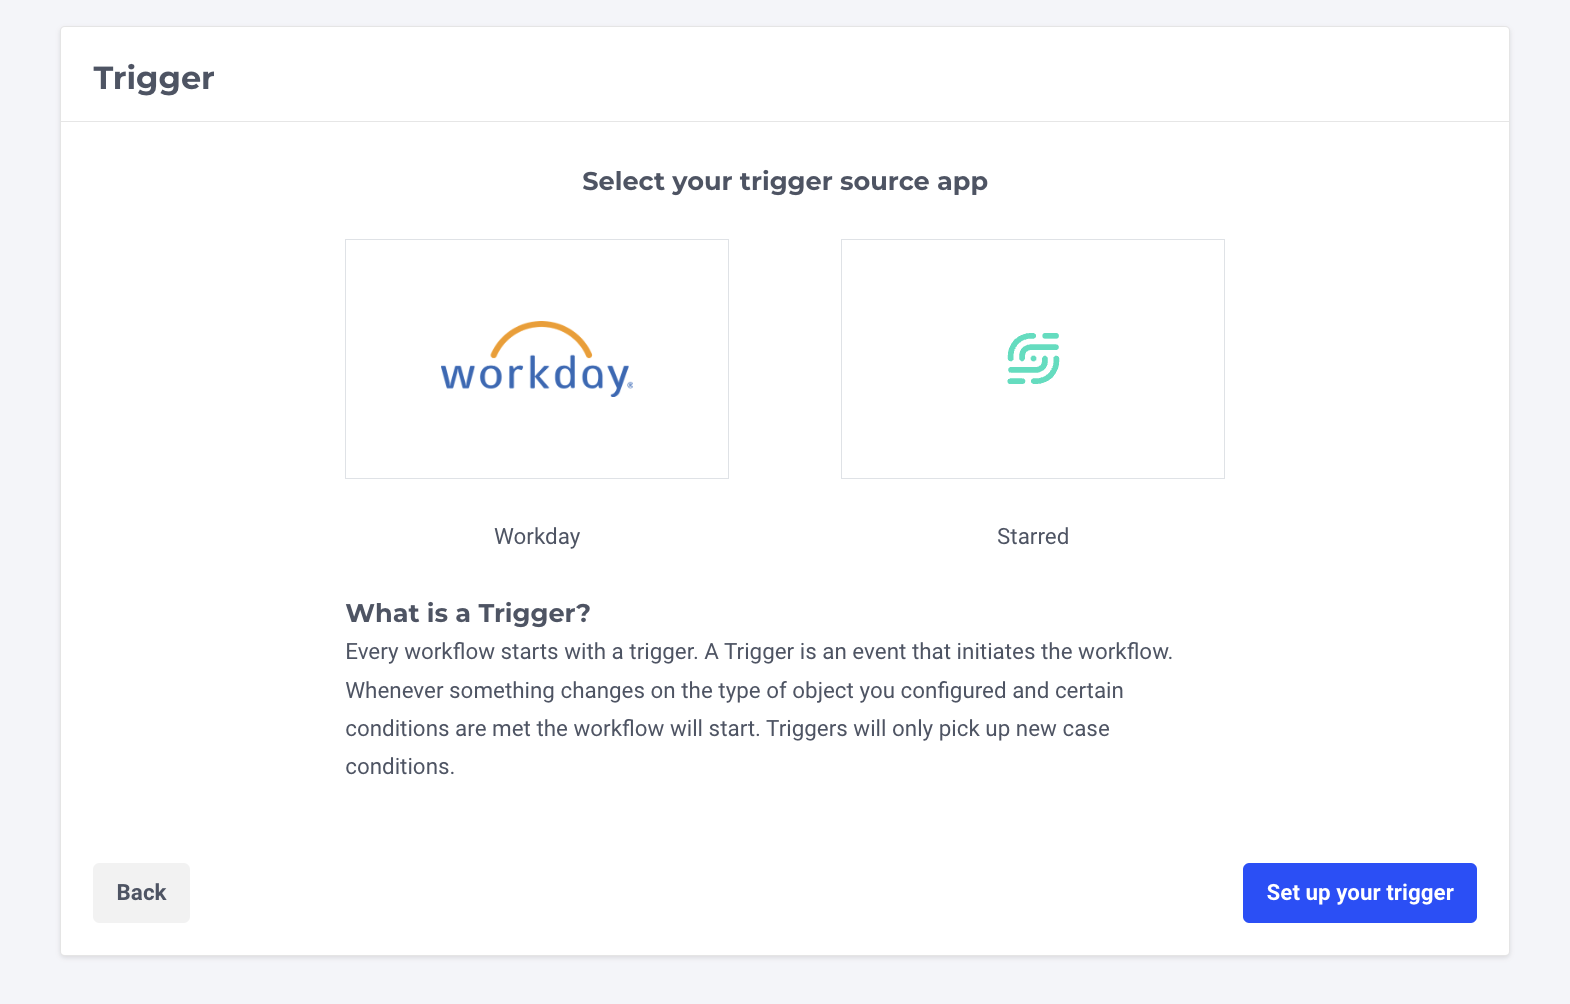
Step 1. Choose a trigger
Each workflow starts with a trigger that initiates the workflow’s execution. To get started, click 'Create workflow'. You can either select one of the workflow templates or build the workflow from scratch. To build the workflow from scratch or to edit the settings of the pre-built workflow you can follow the steps below:
- Select Workday as your trigger app and click on Set up your trigger
- From the 'Select Trigger' dropdown menu select from where do you want the information to be triggered from:
a. Candidate Rejected
This trigger is used to send surveys to candidates that are rejected.
b. Candidate Hired
This trigger is used to send surveys to hired candidates, to hiring managers that worked with a candidate for our Hiring Manager Feedback survey or for onboarding surveys.
c. Candidate Withdrawn
This trigger is used to send surveys to candidates that have withdrawn from the recruitment process.

Please note that it's not possible to trigger surveys for when a candidate moves from a stage to another in the recruitment process. Please check this FAQ article to learn why.
- Conditions
Here you can add extra conditions to specify when the workflow can continue. Add more conditions with the 'Add condition' button
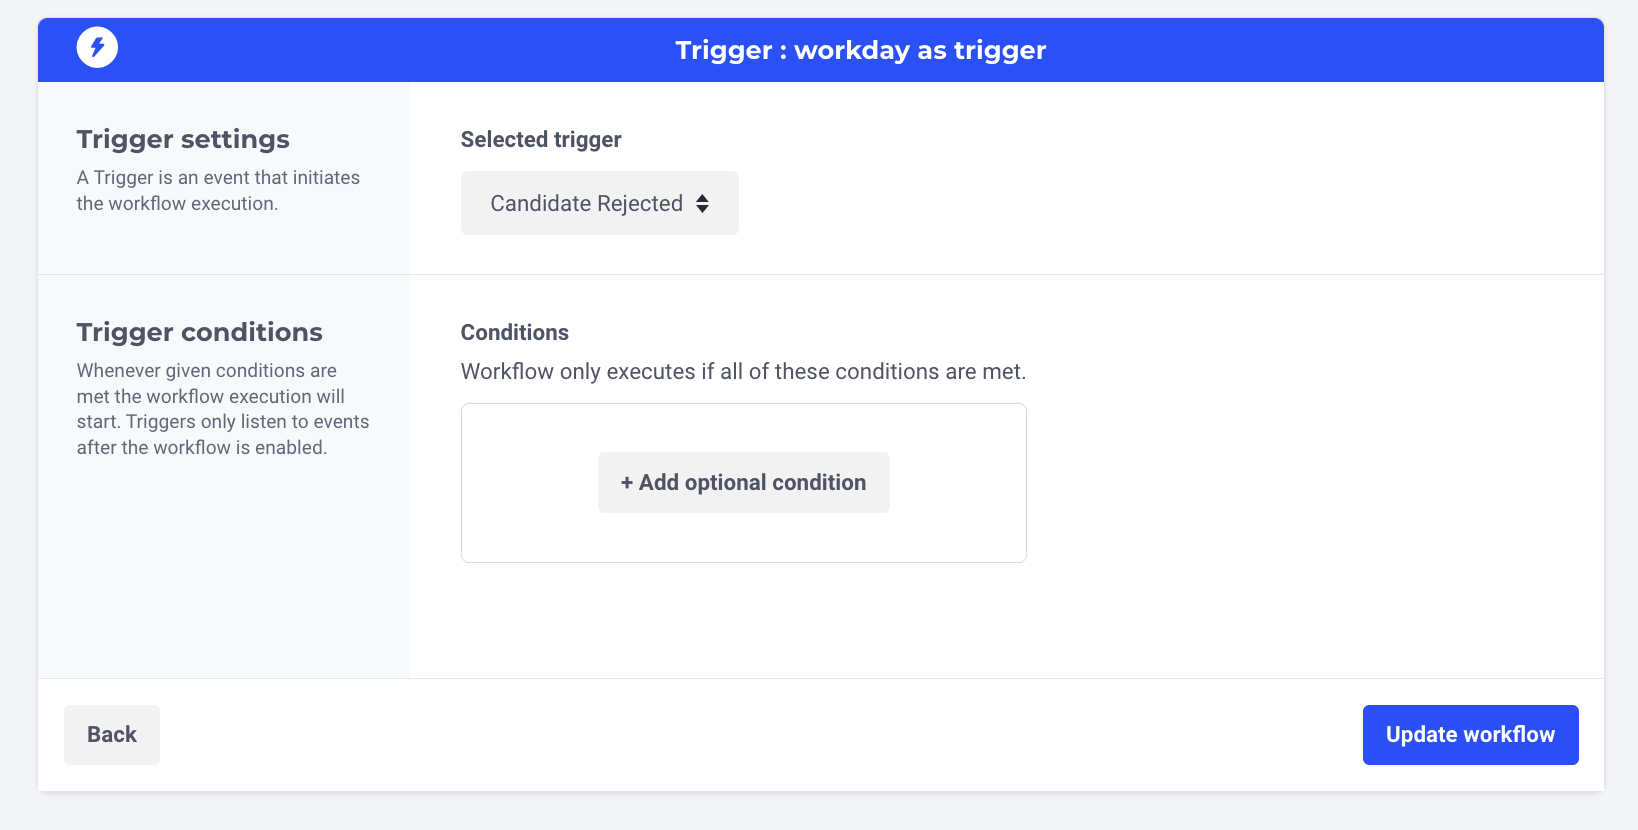
- if you're done setting up the trigger click on ‘Update Workflow’ and 'Save workflow'
Please note: in the Trigger step you can only use a ‘is’ condition, in the Filter step you can also use the conditions ‘is not’, 'contains' and 'does not contain'.
Updated 10 months ago
Learn More
Did this page help you?