How to create a CSV file with properties (Custom Fields)
Learn how to enrich your survey responses with properties so you can easily segment and analyze your data later.
When you send survey invitations manually, you can include custom fields (also called properties) in your CSV file.
These fields help you categorize and filter responses in your dashboards — for example, by Location, Department, Recruiter, or Job Title.
What Are Properties (Custom Fields)?
Custom fields are extra pieces of information you attach to each contact.
Examples include:
- Location
- Department
- Country
- RecruiterName
- JobName
You can later use these as filters in your dashboard to break down your data by team, region, or role.
Note: You can only add properties when inviting via a .CSV file. If you enter contacts manually in Starred, there’s no way to include custom fields.
How to Create an Invitation File with Custom Fields
Step 1. Set up your spreadsheet
Open Google Sheets, Excel, or another spreadsheet tool, and structure your file as follows:
| Column | Field name | Description |
|---|---|---|
| A | Firstname | (Required) Contact’s first name |
| B | Lastname | (Required) Contact’s last name |
| C | (Required) Contact’s email address | |
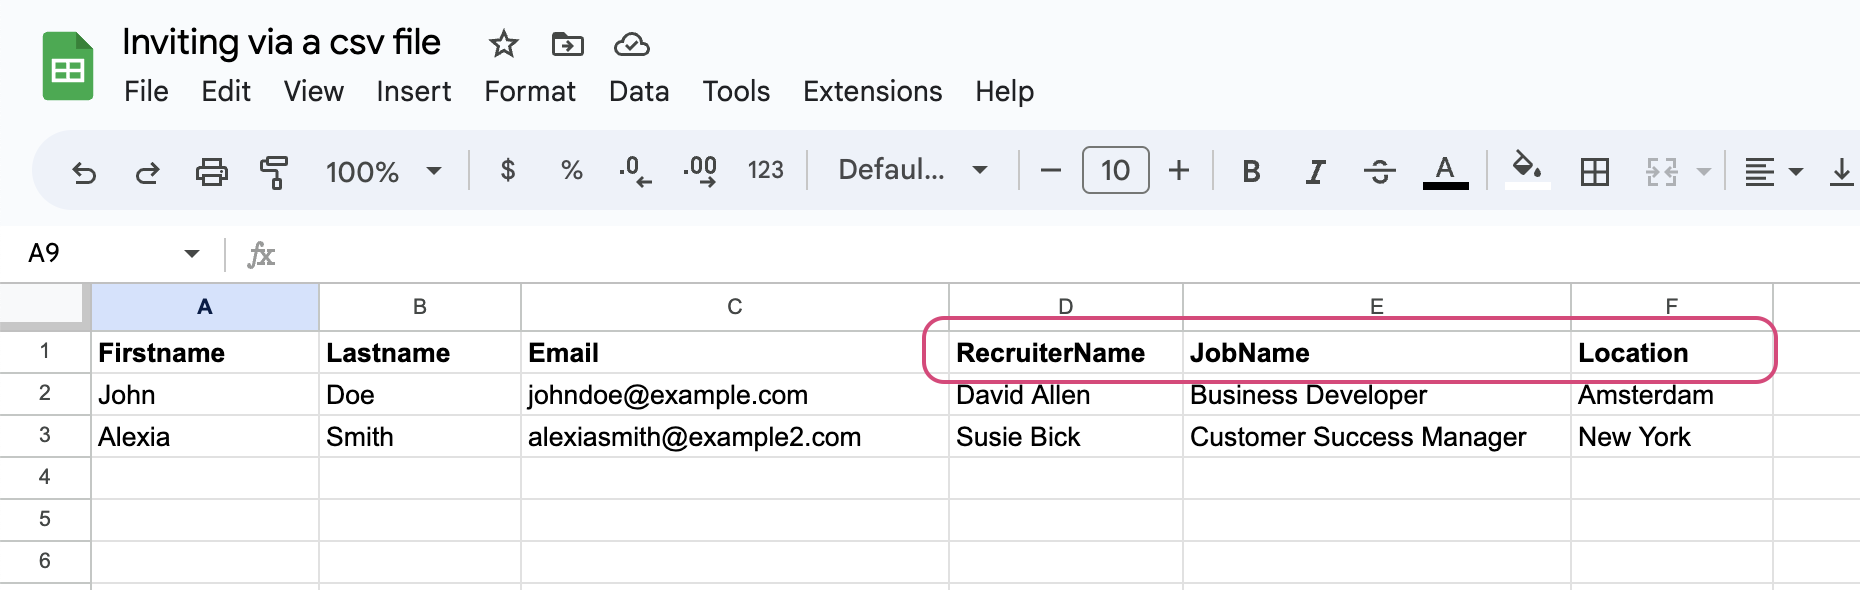
| D → onwards | Custom fields | Add as many as you like (e.g. RecruiterName, JobName, Location) |
Each column header in the first row will become the property name in Starred.
📷 Examples:

Step 2. Save your file as a CSV
Once all data is filled in, export the file as .CSV (comma-separated values) format.
This ensures Starred can recognize and process it correctly.
Tip: Keep your file size below 500 contacts for faster processing (maximum file size: 20 MB).
Starred supports all UTF-8 characters- if you see unusual symbols, make sure you’re opening the file with UTF-8 encoding.
Step 3. Upload your file in Starred
- Go to your survey in Starred.
- Click Invite respondents.
- Choose Upload CSV file and select your saved file.
- Starred will automatically map your columns (Firstname, Lastname, Email, and your custom fields).
Once the invitations are sent and responses start coming in, you can filter results in your dashboard using these custom fields.
Want to see this in action? Watch the video tutorial on creating a CSV with custom fields →
🌟 Tips and Best Practices
✅ Always include Firstname, Lastname, and Email
Even if you don’t have names, keep these columns — they are required but can be left empty.
✅ Be consistent with spelling and capitalization
Starred treats field names and values as case-sensitive.
- Use the same spelling across all files:
✅ RecruiterName
❌ Recruiter Name or recruitername - The same applies to field values (e.g., John Doe ≠ john doe).
✅ Use underscores or camel case (no spaces)
If you plan to use these properties as tags in email invitations, write them without spaces.
For example:
✅ JobName
❌ Job Name
✅ Keep your field naming consistent across surveys
Using identical field names ensures your dashboard filters remain unified and easy to navigate.
Prefer watching instead? We’ve got you covered - watch our step-by-step video on how to create a CSV file with custom fields.
Updated 10 months ago
Learn More
Want to learn how to use these custom fields in your invitations and/or surveys?