How to create a CSV file with properties
Learn how to enrich your responses with properties to easily segment your data later on.
When inviting manually, you still have the option to enrich your responses with properties that you can later on use as filters in your dashboards. This will be useful to analyze and segment your data much better!
An example of properties that can be added to your contacts and therefore to your responses are "Location", "Department", "Country", "Recruiter" and so on. We call these properties custom fields.
Please note: you can only add properties to your responses when you're inviting via a .csv file. If you type your contacts' addresses manually, there's no space to add properties.
Creating an invitation file with custom fields
Your .csv file should contain multiple columns, one for each field.
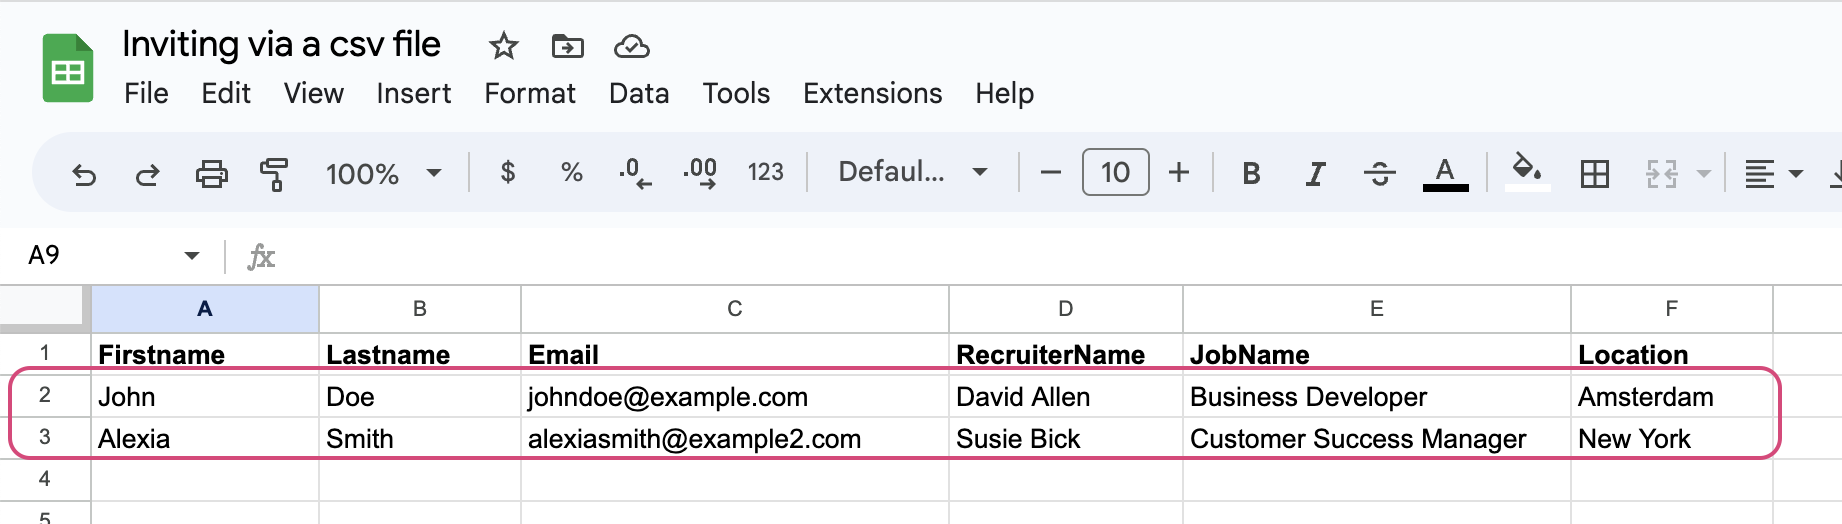
- The first three columns will always be Firstname, Lastname and Email. These are necessary for Starred to recognize the contact.

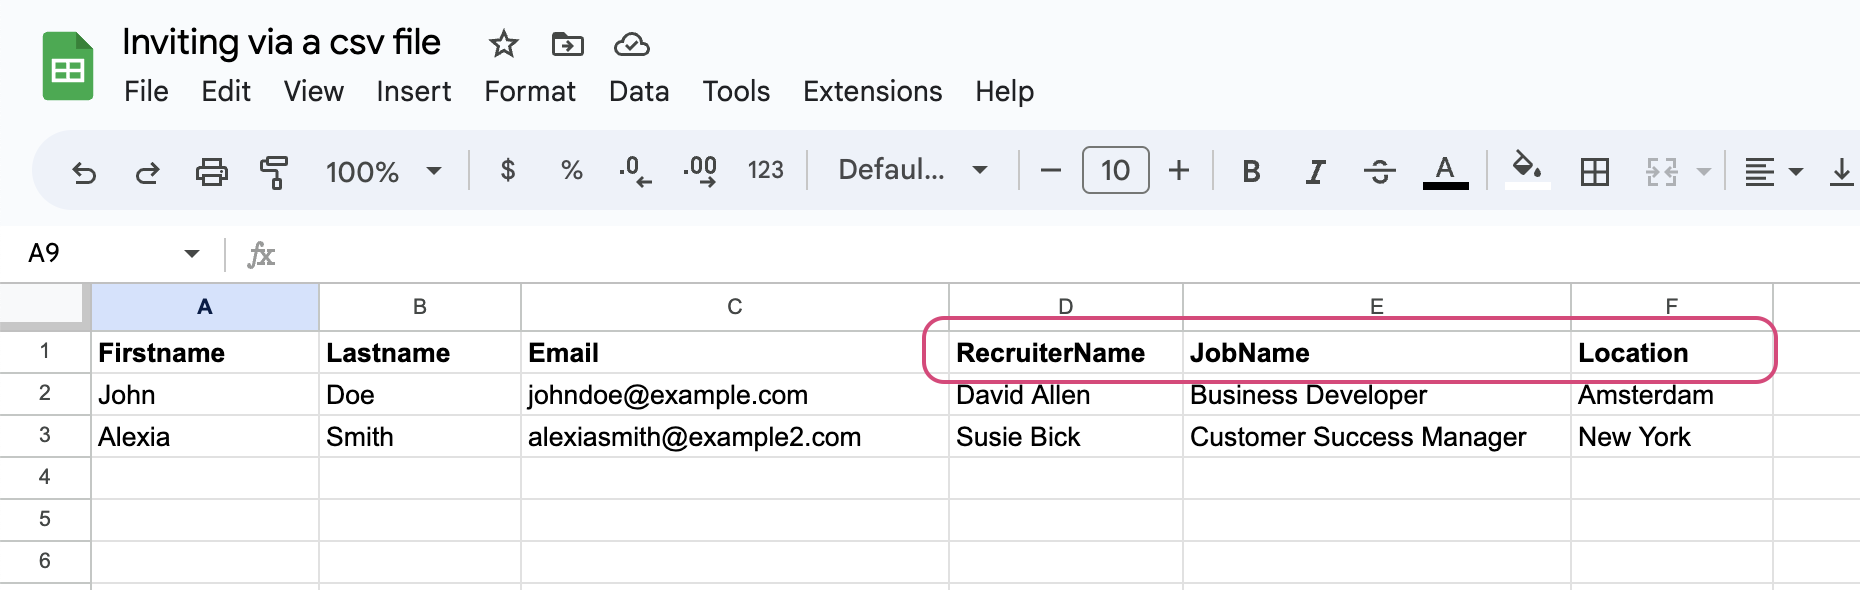
- From Column D in your sheet onwards, you can add as many custom fields as you'd like. The first row always needs to contain the column title, which will be the name of the custom field.
For instance, you can add 'RecruiterName' in Column D, JobName in Column E, Location in Column F, etc. All of these should be in the first row of your file.
- From your second row, you can start adding your contacts' names, email addresses and fill in the properties for each contact. See example:
- Now you can export your sheet in a .csv format, so Starred can recognize it.
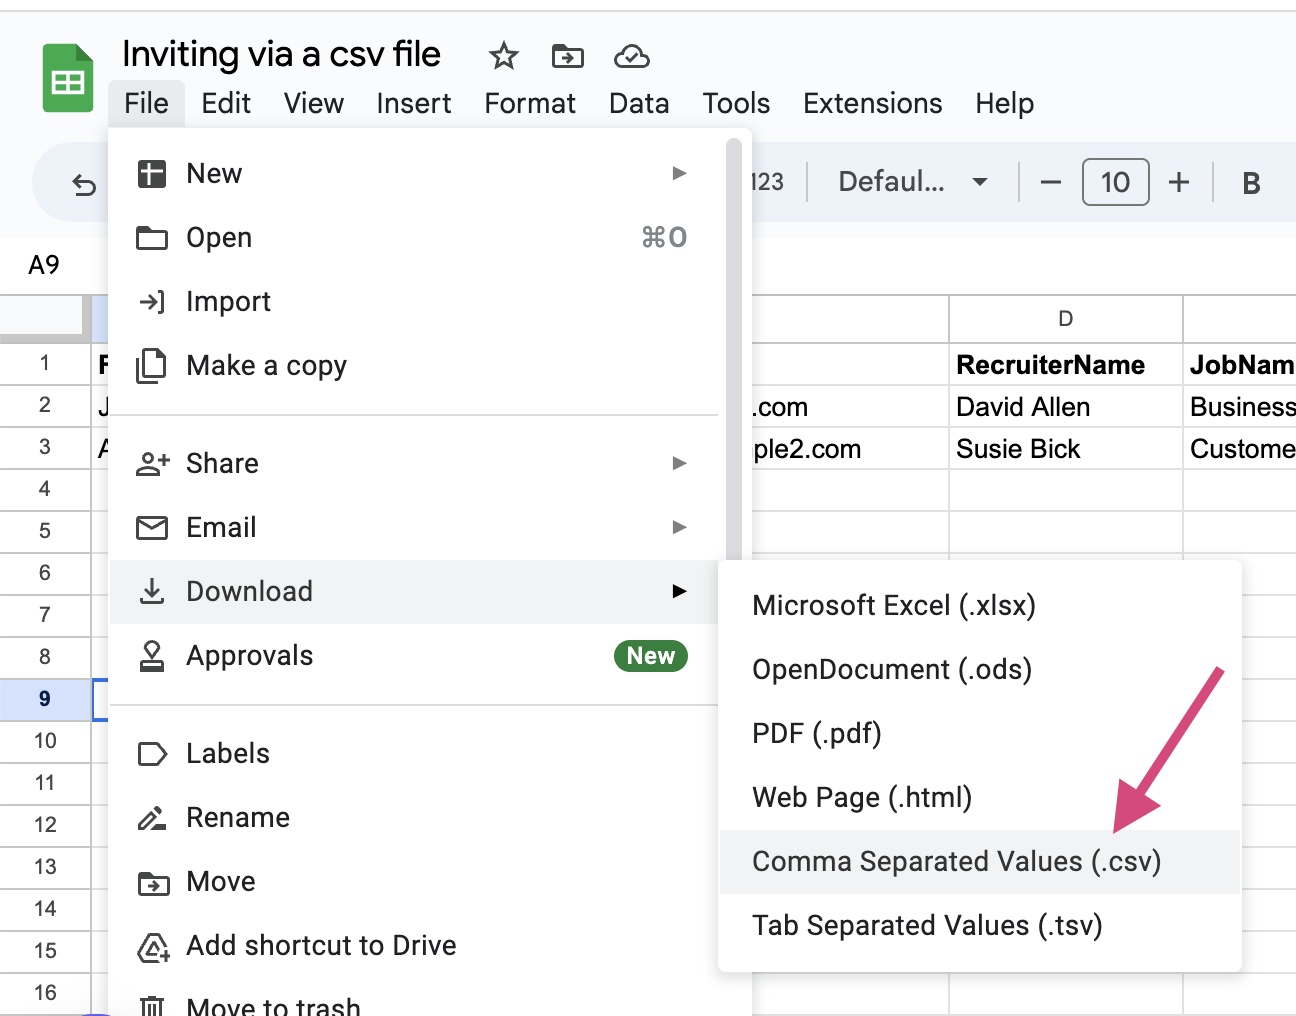
- The downloaded .csv file can be directly uploaded in Starred to send survey invitations to your respondents. We have a full article and video on this, which you can check out here.
After sending out the invitations and receiving responses you can start filtering the feedback.
Please note: try and keep your files under 500 contacts as very large files are harder to process. The maximum file size allowed is 20 MB. We also support all UTF-8 characters. If you see any unusual characters, make sure you're opening the file using UTF-8 encoding.
🌟 Tips and tricks
- Even when you don't know or use a first- or last name, it's still important to create those columns in your sheet. You can leave them empty, as long as you add them.
- Custom fields are sensitive to capital letters, and won't be linked when used inconsistently/spelled differently, so make sure that each .csv file you upload has the same spelling for the same field! For instance, do not spell RecruiterName once without a space, then as Recruiter Name, and finally just as Recruiter. This will cause three different filters to appear in your dashboard.
- The same goes for the field values, so the names of your recruiters for instance. The system is sensitive to capital letters and won't recognize the same recruiters when spelled differently.
- If you plan to use these properties also as tags in your invitation email to make it custom to your respondent, we recommend typing them without spaces in between, otherwise they will not be recognized. For instance, if you want to add the job, to which the candidate has applied, in their invitation email, choose to write the field as JobName and not Job Name.
If you do not like written guides, we recommend watching this video where we show an example of how to create a .csv file with custom fields.
Updated 5 months ago
Want to learn how to use these custom fields in your invitations and/or surveys?