Personalizing your invitation by using custom fields
How to make your invitation email feel more personal by adding tags
If you added extra properties to your contacts (JobTitle, Recruiter, CompanyName, etc.), you can use these custom fields to make your invitation even more personal. Depending on whether surveys are sent manually (1) or via workflows (2), personalization works as follows:
1. When manually inviting contacts
- From your Survey overview, find the survey you want to send out
- From the dropdown menu select Invite new respondents
- Upload your contacts with the Upload CSV option
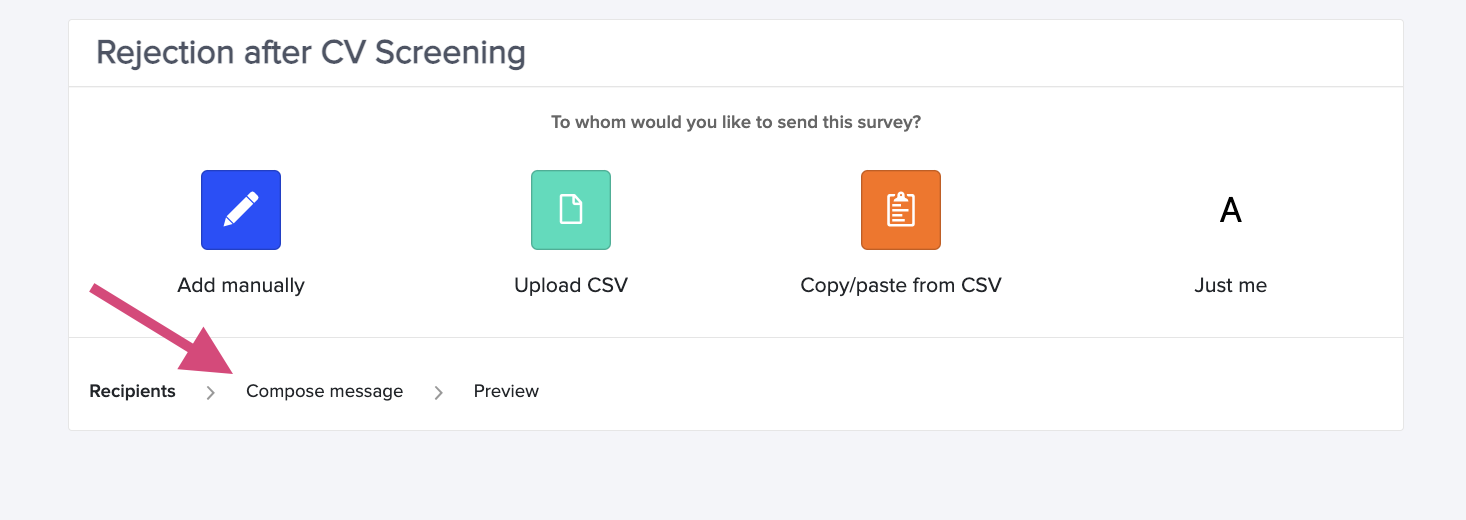
- Click on Compose message in the lower right corner. You will be redirected to the next step where you can construct the invitation e-mail. We've touched on this topic in this article.
In this step, you're able to adjust and set all settings and write your invitation text. To make sure your respondents know that this e-mail is reliable and know what this survey is about, it's important that your invitation is as direct and personal as possible. For example by adding certain properties to the text.
You can manually add the custom fields in your invitation text by typing '@columntitle'. This can, for example, be a custom field like @JobName or @Location.
Note: When you manually add the custom field, it's important to use the exact column title you also used in the contact list. The custom fields are sensitive to capital letters, and won't be linked when used inconsistently!
Note: Don’t forget to hit the floppy disk icon when you’ve made changes to your invitation template.

2. When you're inviting through an automated workflow
You can still customize the invitation email in the exact same way, however, you won't need to upload a .csv file. The contacts will be pulled out from your Applicant Tracking System instead.
When you're asked to choose a way to import your contacts, instead of going forward with one of the options you can click directly on Compose message.

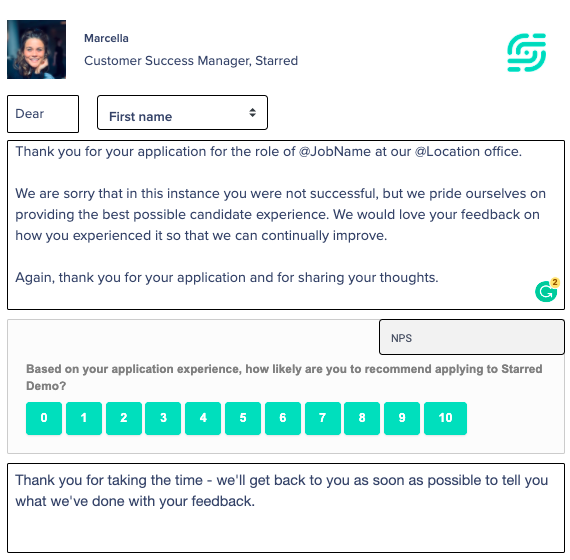
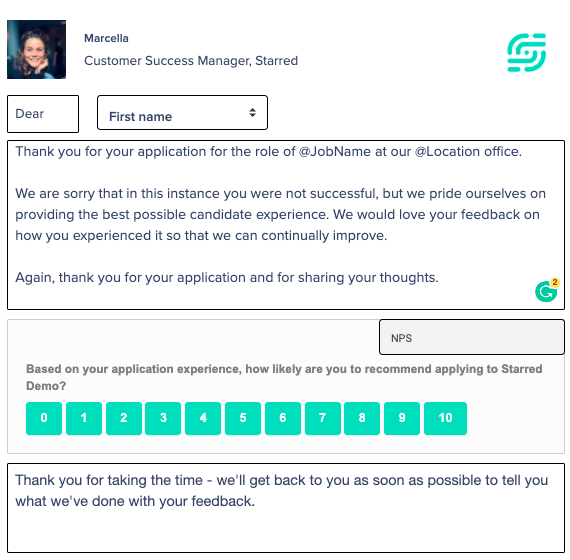
For example, if you have added the custom fields @JobTitle' or @Location to your workflow, you can use those in your invitation text by typing @customfield (see the example below).

It's important to use the exacts same notation of custom fields as used in the workflow builder. The custom fields are sensitive to capital letters, and won't be linked when used inconsistently!
If you're not sure about the spelling, you can find the notation of custom fields in the Action (Send or Schedule invitation) step in the workflow(s). At Custom fields you'll see the specified names in the left column, these notations you can use in the invitation text.

Note: Don’t forget to hit the floppy disk icon when you’ve made changes to your invitation template.
Updated 10 months ago
Not sure you have all you need to start customizing your invitation emails? Then check out our previous article where we explain how to add these custom fields to your respondents:
